Our Process

About The Vintage Overlook Process

1

Stage 1: PLAN TYPE SELECTION

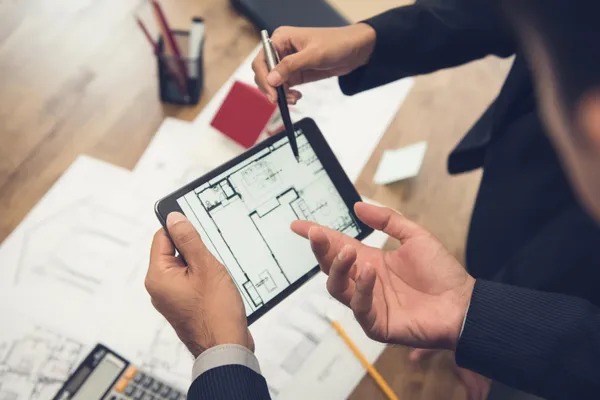
At Vintage Overlook at Weaver Park, you can choose from a variety of plan types and exterior elevations on certain lots. Select the home plan that best fits your needs. Some structural changes can be accommodated such as adding additional car spaces at the garage, increasing the size of a room or expanding the finished basement space.

2

Stage 2: PERSONALIZING YOUR HOME

The possibilities are endless! With the purchase of your new Vintage Overlook at Weaver Park home, you will have up to two design appointments with each category of finish providers to select your flooring, countertops, wall tile, kitchen backsplash, cabinets, plumbing fixtures, light fixtures and appliances. Create a home that incorporates your personal taste into your bespoke design, tailored to your way of living.

    3

    Stage 3: THE CONSTRUCTION PROCESS

    New homes are unique from other manufactured products in that each component is crafted by hand and involves many trade professionals

    Overlook Ranch Home Communities are built to meet or exceed the standards in the building industry. Each home is built using quality materials and methods to include third party inspections and quality review processes

    Vintage Overlook at Weaver Park strives to create the best quality product possible and deliver a home that homeowners will enjoy and take pride in for years to come. Each new home includes thousands of components provided by an array of manufacturers and contractors.

    The typical phases of construction are as follows

    • Site Preparation and foundation pour, backfill and compaction.
    • Rough Framing of the walls and roof systems. Windows and exterior doors are installed at this phase. Buyers will walk the home with the Project Superintendent at this phase to review all structural options and quality construction features such as open web floor trusses
    • Rough Plumbing, Electrical and HVAC begin. Once the shell is finished and siding and roofing can begin, the mechanical and electrical contractors will begin their installations according to the options selected. Buyers will walk the home with the builder after rough installs are complete to review options and make any adjustments
    • Insulation, foam sealing and interior testing for energy compliance are the next steps prior to drywall installation
    • Drywall is installed and the texture is applied. Exterior finishes such as stone and stucco are applied. Now is the time to measure rooms for furniture (i.e., dining tables, sofas/chairs, beds and nightstands)
    • Interior doors/casing, window sills, stair balusters, moldings and other decorative trim and finishes are installed at this phase. Painting, flooring, countertops, shower surrounds, mirrors and shower doors are installed. Cabinet installation begins. Electrical, plumbing and HVAC systems are trimmed with switches, recessed can lights and heat registers are installed. Exterior finish grading is completed to prepare for landscape installation. Exterior driveways, patios and sidewalks are installed. Final cleanup is the last step including installation of plants and landscape features.
      4

      Stage 4: FINAL WALKTHROUGH

      Your Project Superintendent will walk you through your new home to acquaint you with its features and the operation of various systems and components. There will also be an explanation of your responsibilities for maintenance and upkeep as well as warranty coverage and procedures. It's also an opportunity to spot items that need to be corrected or adjusted, so be attentive and observant. Examine the surfaces of countertops, fixtures, floors and walls for possible damage that can be documented and/or repaired prior to move in.

        5

        Stage 5: CLOSING AND MOVING DAY

        Closing is the final process of buying a home. Home closing is the process of executing the final paperwork and ensuring all purchase contract conditions have been met before ownership of the property is transferred from the seller to the buyer. The closing documents will include a final loan statement, a deed transferring ownership of the property, and various disclosures required by state and federal law. The buyer and seller will sign all the necessary documents, and the closing agent will then record them with the county clerk. At this point, you will officially be the owner of your new home. You will receive all keys, remote controls and any other miscellaneous items related to installed equipment in your home. Be sure to register any warranties for products installed in or on your home such as roofing material, appliances and windows.

        Moving Day! Be sure to protect your interior finishes while moving furnishings in to your new home. At this time you will set up all necessary utilities and connectivity. Be sure to submit change of address notices as necessary. Take some time to familiarize yourself with your new home and identify the locations of electrical panels and circuit breakers, water shut off valves, furnace switches, etc. and settle in to enjoy your new home!

          6

          Stage 6: POST CLOSING

          Set up your personalized warranty portal. Review your personal Homeowner Guide Book for details on maintenance and emergency contacts. Mark your calendar: 90 days and 11 months post-closing to conduct your self-guided 3rd and 4th walk-throughs.

            Get Fast Answers!